What's Cooking this Week

Saturday, September 28, 2013


I'm way ahead of myself somehow and already have this week's meals planned. Usually I'm wandering around Trader Joes, eyes wide, trying to quickly come up with dinner for the next few nights. Typically, I end up with half the ingredients for 6 different meals. Not this week, my friends. Half a pot of coffee in the morning is great motivation!


My husband is home ALL TODAY AND ALL TONIGHT. We're taking the kids to play in the pumpkins and stuffing them full of cider donuts. Hopefully I remember to take a couple pictures. Enjoy the weekend!


Perfect Pot Roast - The Pioneer Woman. I've given up the packet of chemicals pot roast. :O

Greek Turkey Meatballs - Skinny Taste. Never Made these before!

Chicken and Broccoli - A Teaspoon of Happiness. A staple in our family.

Hearty Meatball Stew - Giada and The Food Network. Love anything from Giada.

Baked Pasta with Sausage & Spinach - Skinny Taste. Another one of our favorites.

Fooseball Food: Ham and Cheese Sliders

Tuesday, September 24, 2013

Well these little sammies could be made for any occasion, really. They were a big hit at my daughter's Christening. But, it's football time and the internet tells me that people like to eat while they watch football. This recipe is all over Pinterest so I'm sure you've seen it before. IT'S DANG GOOD, Y'ALL.

Photo by iPhone

They're perfect for feeding a crowd because you make 12 at once and they can be done ahead of time. The original recipe is posted on the Kings Hawaiian website. My version is listed below!

Ingredients
1 pkg Kings Hawaiian Sweet rolls
1 lb shaved ham
1/2 lb sliced cheese (I use fontina)
1 small onion, minced
1 stick of butter
1.5 Tbsp dijon mustard
1.5 tsp Worcestershire sauce
Poppy seeds to garnish

Directions
- Preheat your oven to 350 degrees.
- Melt the butter in a pan and add the onions.
- Stir until onions become translucent.
- Add mustard, worcestershire sauce and stir. Remove from heat.
- Cut the sweet rolls in half, but keep the layers intact.
- Place the bottom layer in a 9 x 13 pan.
- Add the butter mixture to the bottom half of the rolls, about a teaspoon on each roll.
- Add a layer of ham and then a layer of cheese.
- Place top half of the rolls onto the sandwiches.
- Brush the tops of the rolls with the butter mixture. Ensure that some of the onions make it up there.
- Sprinkle the rolls with poppy seeds.
- Bake the sandwiches for approx 15 minutes so the cheese is melted and the rolls are brown.
- Eat, drink and repeat.


I've been known to make these for lunch on the weekend. We seriously eat all twelve them.

I'm a little (a lot) OCD so I actually break all of the rolls apart and fold the ham and cheese so that they fit nicely on each sandwich. Yikes, I know. But listen, happy wife, happy life right? Riiiiight.

Make these for your fooseball get together this weekend or for whatever else you've got going on. Hope you love them!!

Cross it Off the List!

Sunday, September 22, 2013

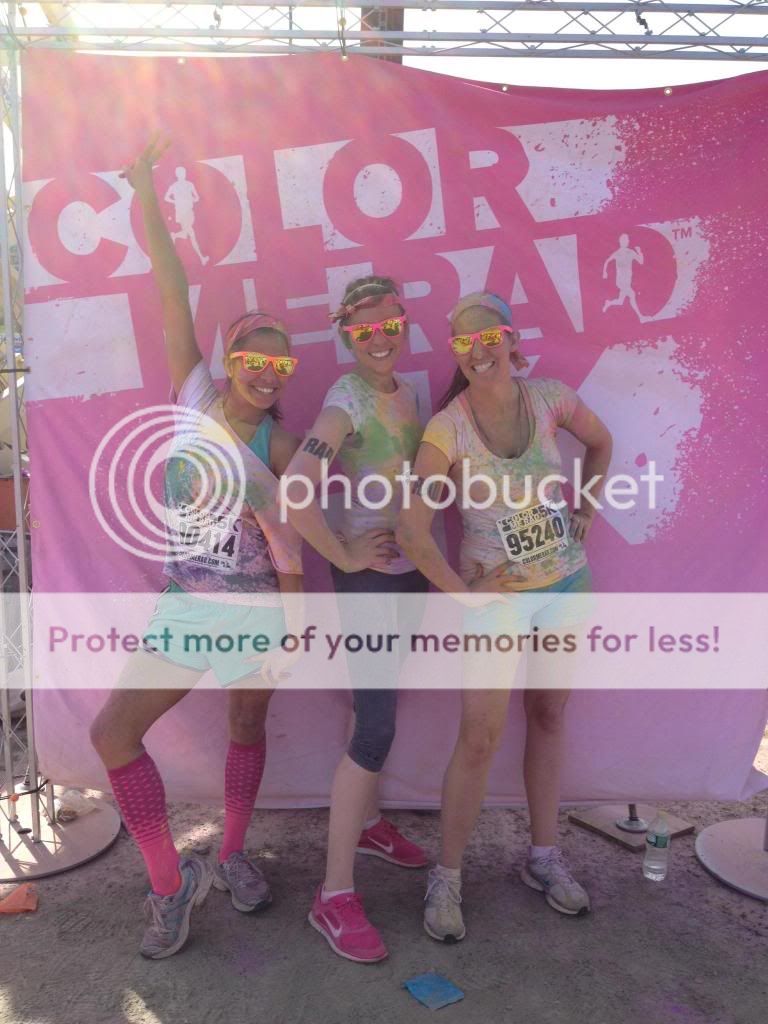
One of my goals for 2013 was to run a 5K. And I finally accomplished that, yesterday!

I don't have a lot of time to myself so I run when I can and workout when I feel like it. Last year, when I was the size of a house, I promised myself that I would run one. I figured September was a realistic timeline after having a baby in December! I ran with two friends and we did it in about 30 mins. There were 1,000+ other people in our wave so we kind of ran...at a walking pace. But we did it! And it was so much fun.


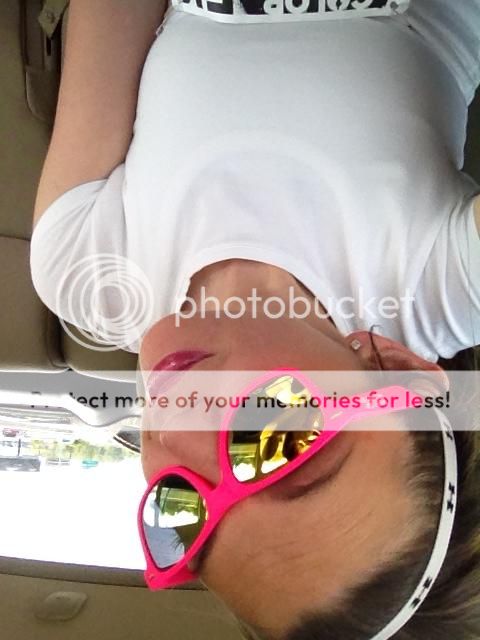
Pre run selfie.


Um, I can't remember what we were sad about. Lol.


After. YAY!


We're doing it again next year, for sure!

10 Minute Pickles

Sunday, August 25, 2013

So, I've become a little obsessed with making things myself. Tomato sauce, pancake mix, taco seasoning, Ranch dressing mix and now..... pickles.

We've got cucumbers coming out of our ears, thanks to my Father In Law's incredibly green thumb (my son has been eating them for breakfast). I came across this recipe the other day and figured I'd give it a try. Besides, what the hell was I going to do with 19 cucumbers anyway?


OMG, Y'ALL. They're good. And cheap. And easy. And quick.

Ingredients
4 pickling cucumbers or 1 large English cucumber
1 tbsp salt
1.5 tbsp sugar
1/4 (heaping) tsp black peppercorns
1/4 (heaping) tsp mustard seed
1 tbsp chopped garlic (approx 4 cloves)
1/2 cup white vinegar
1 bunch of fresh dill

Directions
Slice your cucumbers, leaving the skin on. (I used my mandolin).
Put all of the ingredients into the jar.
Fill the jar with warm water, until covering the cucumbers.
Twist the lid on and shake the jar until salt and sugar are dissolved.
Refrigerate over night. Or for an hour. Or whatever...the title says 10 minutes!

Shannon has more details over on her blog, if you need them. To be honest, I used grainy Trader Joes mustard instead of mustard seeds (I dont have mustard seeds!). I also used dried dill rather than fresh. Whoops. I didn't feel like chopping garlic cloves so I subbed 2 tsp of crushed garlic which is why the jar looks so cloudy. They still turned out to be delicious!

I tasted them after an hour. I couldn't help it. And now, I want to eat them all. I don't want to share them with anyone!

Um, hello?

Tuesday, July 9, 2013

It has been a minute since I've been here.

Life is funny sometimes. You've got nothing going on and then all of a sudden, you're going in 30 different directions. I just got a promotion. Work is hectic and is about to get a whole lot crazier. That, on top of everything else the summer brings, just confirms the fact that I'm getting old. Seriously, I'm usually drooling on myself by 9:30PM. The times I've opened the laptop and logged into Blogger have not been successful (obvi). I get distracted so easily. Or, I just want to go to bed. 9 times out of 10, the bed wins. The other time, it's the wine that wins.

I have a bunch of pictures to blog, a new design to upload, recipes to post and complaints to lodge. Stick with me, friends! There's got the be a down slope soon!

My Daily Face

Tuesday, May 28, 2013


My daily face isn't anything fancy. I've been using BareMinerals since girlfriend was swirling, tapping and buffing on QVC. And, I'm pretty sure that I've worn the same shade of brown eyeshadow since 7th grade. I held off on the Naked palette for so long because of the price but its honestly worth every penny. Clearly, you can tell which color I wear every single day.


I use coconut oil as my facial moisturizer.

ELF eyelid primer: A must when using oil on your face. This primer works just as well as more expensive primers and its only $1!

Hard Candy Glamoflauge concealer: Best. Concealer. Ever. It's definitely worth the trip to Walmart. You use such a small amount so it will last you a while. I was skeptical because its only $6 but it does serious work on your face.

Bare Minerals Foundation: Most days I just use this to set my concealer. If I'm going out, I do a full face of foundation.

Bare Minerals Warmth: Bronze bronze bronze, all over the face and décolletage.

Bare Minerals Blush: In Vintage Peach.

Bare Minerals Eyeshadow: In Bahamas. It's a Glimmer, so it's very shimmery but a really fine powder. I use it all over my lid and up to my eyebrow. It's really neutral and pretty and doesn't look as bad as I'm making it sound! I swear!

Naked Palette: Buck all over my eyelid. A little bit of Darkhorse in the crease.

Sephora Collection Nano eyeliner: In coffee. Set with a little bit of Darkhourse from the Naked palette. Love this pencil and its only $5!

ELF eyelash curler: THIS IS ONLY $1. And it's my favorite curler I've had! One. Dollar.

Benefit They're Real mascara: Loveeeeee this mascara. It has a comb wand and the formula is creamy/pasty VS watery. If you want to try it out first, Sephora's birthday gift this year features a sample size of the mascara.

ELF eyebrow gel: Taming the eyebrows has made a difference in how I look. I can't rock a heavy eyebrow without looking angry so it's great that this is clear. Again, it's ELF and its only $1. No need to spend more!

Benefit Moon Beam: Just a little bit on my cheek bones, under the eyes.

Bare Minerals Buxom lipgloss: In Samantha. Not pictured, sorry!

I use brushes from Bare Minerals, Sephora and ELF. I have some other makeup for when I'm trying to look fancy but this is what I typically what you'll find me in. I'd recommend all of it to everyone. Lol.

DIY: Photo Coasters

Friday, May 24, 2013

This is one of my favorite projects to make. Relatively easy and they're a great gift, especially if you need something for the person that has everything!


This particular day, I made a set of coasters for my best friend who had just moved into her newly built house. A lot of time, coasters are a small overlooked necessity so I figured I'd make them for her. After a little Facebook stalking, I sent the 4 photos to Target to be printed.

To do this project you will need:

4 4x4 tiles, easily purchased at Home Depot (I use tumbled Travertine)
4 photos of your choice
ModPodge (I prefer Matte)
Cheap foam paint brushes
A clear spray sealer (I prefer Matte)
Small felt circles (used for the bottom of furniture feet)


Start out by trimming your photos to fit your tiles. Take your time doing this! Make sure that the subjects are centered while you're cutting. The first couple of times I did this project, I ordered 2 of every print just in case I made a mistake. They're $.19/ea so it was no big deal at all.

Next, cover the top of the tile with a thin, but decent layer of ModPodge. Carefully place the photo down on the tile, ensuring that the photo is centered, with the same amount of tile all the way around it. After all 4 tiles are complete, let them dry for 10 minutes or so.


Then, you're going to apply the ModPodge on top of the tile and the photo. The picture will look like it has a white film and you will be sad, maybe a little confused. But, have no fear. The ModPodge will start to dry and clear up. Apply 3 layers of ModPodge to the tiles, allowing 20 minutes drying time between each layer. Be careful about the amount of ModPodge you use! Too little will ruin the surface you're creating over the photo and too much will cause bubbles. You dont want it! A medium amount, applied with a steady hand yields the best results.


After all three layers are applied, move them out of harms way and let them dry overnight. You do not want any tackiness before you spray the sealer.


Lay the tiles out and spray them with your clear acrylic sealer. Allow the first round to dry and then spray them again. I know this seems like overkill but this will prevent condensation from leaving a mark or ruining the surface.

After your sealer has dried completely, flip them over and apply the tile felt pads to the back. You dont necessarily need these but it will prevent the hard tile from scratching or denting the table they are on.


Stack them, wrap them and give them away. The recipient is sure to love this easy but impressive gift!